Showing posts with label Massage. Show all posts

HOW TO: PARTY MAKE-UP IN 9 EASY STEPS


Your outfit and accessories for the party are all set and the right shoes have been found. So the time has come for that last finishing touch: make-up! RMS Beauty's makeup helps you to create ultra-feminine looks that accentuate your best features ánd nourishes your delicate skin at the same time! What else could a girl ask for? We'll show you two stunning looks - just in time for the holiday season!
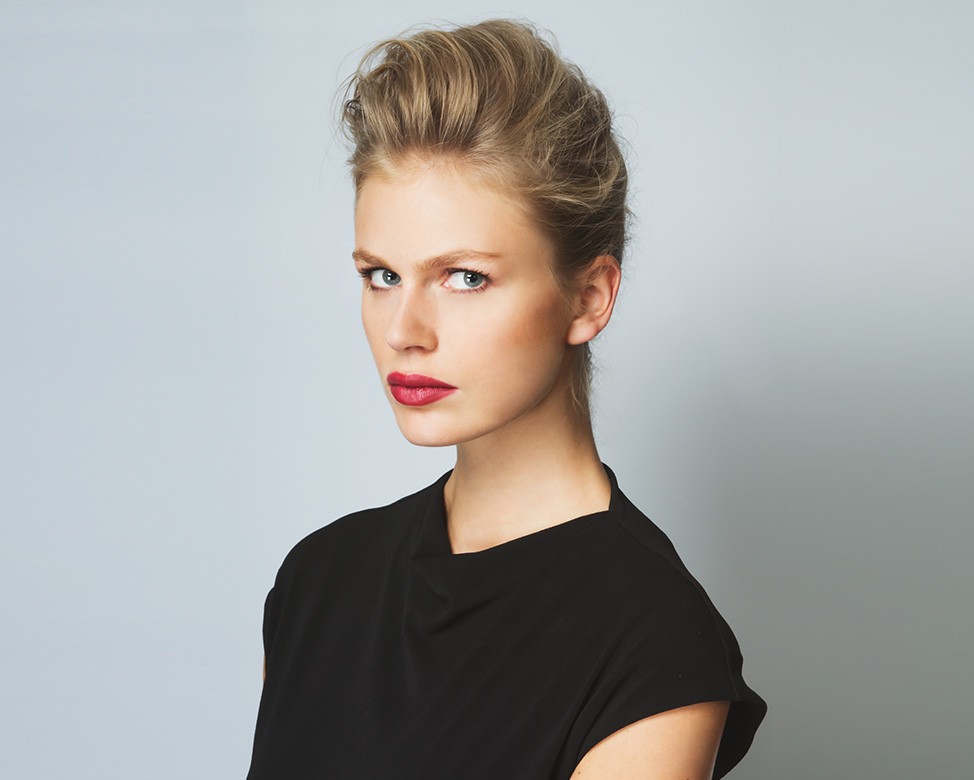


Today the second look: Almost nude eyes with seductive lips

Refined base:

1. Apply RMS Beauty's 'Un' cover-up (in a matching skin tone) with a foundation sponge and blend using your fingers.
2. RMS' 'Un-powder' facial powder offers nourishing components and comes in a color neutral version - perfect for all skin tones! Loosely apply with a large powder brush.
3. Finish your perfect base with a touch of color using a blend of two colors of RMS' Lip2Cheek. Apply the colors Smile and Curious with your fingers and blend till the right hue is achieved.
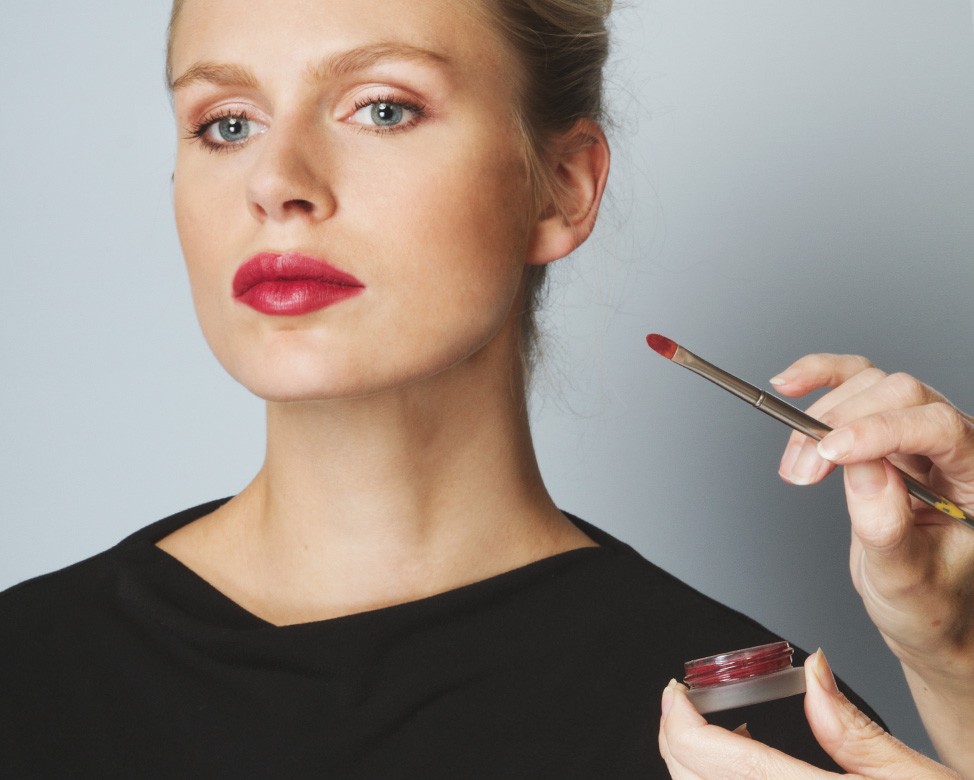


Subtle shine on the eyes

Use an eye-shadow base before following the steps below.

4. Use fingers or a brush to apply a blend of RMS Beauty's Eye Polish in the colors Lucky and Magnetic. These products contain natural minerals that work as a nourishing moisturizer.
5. Darken your lashes with the Defining Mascara from RMS Beauty.
6. If you wish you can finish with a subtle line around the eyes using a kohl pencil - preferably in warm tonal hue.


The finishing touch

7. We've used RMS' Lip2Cheek in the color Illusive, topped off with Lip Shine in the color Content. Both products take care of your lips with added vitamins and nutrients!
8. A beautiful glamorous finishing touch is only a step away with the Beauty Luminizer from RMS. Apply underneath the eyebrows, on the cheekbones and a tad on the forehead. Blend with your fingers for a naturally highlighted result.
9. Fixate your look with COOLA's Makeup Setting Spray - for a beautiful look that lasts.


5 STEPS TO PERFECT SKIN: BEAUTIFUL SKIN MADE EASY


Skincare can seem so complicated and overwhelming. With all the products on the market each touting to have the perfect answer you are looking for to achieve beautiful skin, I often find consumers looking for simple answers and clear information. One of the most asked questions skin care experts get is what do I really need to use every day and how often. Is just washing my face enough? What is a serum and why do you need one? At Somebody we get calls, emails and customers walking into our stores daily looking for these answers. I love to see people really care about and want to take care of their skin. They have questions and are seeking answers. Trust me the chemists and formulators making these products know. Their companies try to ”sell” you what they want you to believe on the front of their package. Having just come back from being the keynote speaker at The Society Of Cosmetic Chemists annual convention this year, I can assure you, they are formulating with the knowledge that the consumer is looking for answers. The cosmetic companies they work for use this information to “sell” you what they want you to believe. So do you really need a day and night cream, 2 serums and new products every week? Learn the real measures you need in order to protect and nurture your skin and see the rewards in return. Please note although we are looking at what to do, this in no way helps you with which products and ingredients to use. All have different formulations, some good some not so. In an upcoming blog, I will address what to look for in each of these products below and how to make your own at home.

There are 5 steps to perfect skin. As you will see serum can be skipped completely depending on your skins needs and a mask does not have to be every day. These basic steps performed properly in conjunction with the right products will keep you glowing! The best at home skin care routine still needs a periodical professional facial for the utmost results.
Each step (except face mask) should be done morning and night.

CLEANSE


Washing your face is a simple task, but the benefits of this simple action are innumerable. Before you wash (or touch!) your face, make sure to wash your hands. It is important to wash your face with lukewarm water, as water that is too hot can break capillaries, cause redness, and damage cells, but cold water in my observations, will not allow your pores to completely open. Once your face is dampened and warm, I teach my clients to apply cleanser in small, upward circular motions using the ring and middle fingers. These fingers are the weakest, thus ensuring that you won’t rub too hard and cause damage. The skin on our faces is more sensitive than we would think, meaning that it often suffers unintentional abuse, which can lead to long-term damage.

When cleansing by starting at the bottom of the face and working your way upward, I always tell me, clients, they are giving themselves an anti-gravity lift. This will also stimulate the skin, getting blood flowing and allowing pores to open, ensuring that your skin gets truly clean. To rinse cleanser, gently splash with lukewarm water and pat dry with a clean towel. Be careful not to damage skin by drying aggressively.

TONE


I have always loved finding cost-cutting measures and teaching clients how to either do without or make their own. When I was first starting as a young esthetician one of the things I told clients was they could skip toner in their skincare routine. I wish I could go and tell each and every one of them how wrong I was! In my many years of working with skin, I can see how wrong I was. Toner is a must in a good skincare routine. Its main functions are too close pores, remove the last traces of dirt and oil, re-balance skin’s pH after cleansing and to deposits active ingredient deeper into the layers of your skin after the dirt and oil are removed from cleansing. Toning will also get rid of any remaining traces of cleanser and/or mask. I see pore health just like body health, it benefits from a workout. So I devised a pore “exercise” after seeing too many congested pores. I find it beneficial to open and close pores repeatedly, as not only can they expel more unwanted build-up, they can also absorb actives more deeply each time. To do this workout I suggest freezing some of your toner in ice cube trays and the taking the frozen cubes into the shower. Let the steam of the shower gently heat your face and then apply ice, repeat till ice is melted.

SERUM


Serums tend to confuse people. When do you use them, why do I really need one, what do they do, if I use one do I still need to moisturize? Plain and simple a serum is a problem solver. The only reason to use one is if you have a targeted problem that needs resolution. For example pimples, wrinkles, dark spots or to prevent the signs of aging. Some serums can also be preventative, so they stop the problem before it starts. These serums can be everything from antioxidants to prevent aging or hyaluronic acid to increase hydration. You can see some of the same active ingredients in moisturizer, but as a formulator, we strive to make good serums formulated to penetrate deeper and just focus on their job. They can be more concentrated and with the single focus, get the job done. When I formulate serums I have more flexibility with the goals I am after not having to also address moisture. They are inherently different from a moisturizer and generally have a lighter formula to allow the active ingredients to be more deeply absorbed by the skin. Serums are applied under moisturizer and should be paired with a complimentary facial moisturizer. When you use active ingredients that have a synergy with each other, results will be enhanced. When you use ones that are not formulated to be paired together they may reduce the efficacy.

MOISTURIZE


Any skin expert will tell you dry skin is unhappy skin. We see the effects of dry skin all the time. It can lead to premature signs of aging, loss of luster and youthful glow, clogged pores, cell damage, and loss of beneficial nutrients. Proper hydration is a crucial part of skin health and anti-aging care. Even if your skin is oily, it may still need hydration (fluid) between the cells. Proper hydration is two-fold; skin needs both fluid and oil content, so it is very important to make sure that your skin is properly and fully hydrated. There are two basic kinds of moisturizers. Oils, that penetrate deeper than creams and actually helps to moderate skin’s oil production (although it may seem counter-intuitive to put oil on oily skin, this will actually be beneficial in the long-term as your skin will begin to understand and regulate its own oil production.), and face creams. When choosing a face cream make sure you find one with natural ingredients that help the cream penetrate your skin instead of just laying on top. If you are constantly applying face cream and never feeling hydrated, I suggest you look at one (or all) of these three things. Are you using a cleanser that is stripping your skin, are your pores clogged or is your facial cream actually penetrating the layers of skin.

Please note: When it comes to the eye region you will need a specific moisturizer formulated for that area. This is because the skin under the eyes is among the thinnest on the body, and very fragile and delicate. Some moisturizers contain actives that are too irritating around the eyes. Additionally, dark circles can become a problem since as we age lose fat in the under-eye area. To resolve this issue you will need eye creams with actives targeted to address this.

MASK


Most people will try to skip using a mask. They either feel like it is unnecessary or they do not have the time and don’t want to spend the additional money. Let's address all these common reasons why people skip them and put it to rest! Facemasks are not a side note! A good mask is truly a workhorse of any good skincare routine. They support and enhance the goals you are trying to achieve as well as the right mask will keep your pores clean. Clean pores are no small part of healthy skin, ask any esthetician and they will tell you the importance and value. Seeing what clogged pores due to skin truly illuminates the importance of keeping them clean and healthy so they can breathe and function properly. As for time and money, the best way to use a mask is in the shower (which most people besides bath-tubers are already doing), so gone are the days where you need to find an extra 10-20 minutes to lie down while your mask is on and there are so many effective masks you can make from what is in your fridge and pantry money is not an excuse either!

There are three types of masks: deep-pore, mid-pore, and topical.

When I formulate a deep-pore cleansing mask I am designing it to adhere to any accumulated build-up in the pores and remove it. This build-up comes from everything from pollution, rancid oils, chemicals in our skin are to dead skin cells and smoke. While this is crucial to keep your pores clean for optimum skin health, it is important not to strip your skin and be over aggressive with chemical peels and microdermabrasion.

Mid-pore masks will keep your pores clear and healthy in the interim. They help prevent buildup making deep cleaning easier and more effective. They can (and should) also have active ingredients that do everything from supply skin nutritions to anti-aging actives.

Topical masks are meant to do surface work. They can do everything from removing dead skin cells to reduce fine lines and wrinkles. They are not meant to clean your pores at all. Topical masks can give you that immediate look good, feel soft, radiating glow. The right topical mask can feel like a magical makeover.

Using a combination of all the masks is best for all skin types. Deep pore cleaning can be done once a week, mid pore up to 3 times a week and most topical masks daily. It is best to either cover a mask with a hand towel that is saturated with lukewarm water (wrapped from chin to chin leaving out your mouth and nose) or apply in the shower. The gentle steam will not only hydrolyze actives deep into your pores but also keep the mask from drying, which actually mars its effectiveness. One way I teach my clients to get this effect is to apply their mask in the shower. It is my favorite method as far as time, effectiveness and ease. The warm moist steam from the shower acts like a professional estheticians facial steamer at home.


Best 10 Different Types of Essential Oils to Enhance Your Skin


Hiii Beauties,

Using oils in your skin care regimen has become very common these days. But, we all stick to the basic oils like – castor, olive and coconut and that’s it. But do you know that there are tons other essential oils which can be used to beautify and do justice to your skin?


Come, let’s have a look at the list given below and know how to include these new and different types of oils in your skin and beauty stash;

1. Jojoba Oil:


This is the most lightweight oil you can ever use. It gets absorbed into your skin in a jiffy and controls excess oil and sebum production. It is a boon for all the oily skinned girls.

2. Rosehip oil:


It is dry oil that penetrates deep into your skin. It enters into the deepest layers of the skin, regenerates cells and increases collagen production. The oil is rich in vitamin C, omega 3 and omega 6 fatty acids. But you need to take a word of precaution with this oil. Don’t use it alone on your skin.


3. Tamanu Oil:


This oil with magical properties is known to fade away scars and marks. This oil has unique medicinal properties which have been used since ages in ancient medicines. And just like rosehip oil, this oil is also known to regenerate cells and tissues.

4. Hemp Seed Oil:


If pores and aging skin are your concern. then use this oil. It is known to dramatically reduce pore size and also improve the skin elasticity. This oil is known to eliminate blackheads and acne marks from your face.

5. Grapeseed oil:


Another perfect and versatile oil for your skin. this one is loaded with vitamins like vitamin C and E. It penetrates deep into your skin and heals them.


6. Calendula oil:


This oil made from the goodness of marigold flowers. The oil has unique properties which are known to heal and repair your skin.

7. Ylang – Ylang oil:


This is the essential oil which is a boon for dry skin in winters. It acts as a great moisturizer without making your skin heavy or sticky.

8. Tangerine oil:


This is your oil if you want the young and dewy skin. This one is known to increase the blood flow to your skin. As a result, you wake up to a vibrant and younger looking skin.

9. Patchouli Oil:


You are only aware of tea tree oil for acne breakouts, then you should read this. This oil also works as a fab alternative to the tea tree oil. It takes care of the infections and other skin breakouts dramatically.


10. Cypress oil:


This oil should be your best friend if you have oily skin. This is known to cleanse the skin deeply and bring new and revived look to the skin. It controls excess oil production and thus tightens the skin and reduces pore size dramatically.
So, these were some of the most common face oils to be used. Hope you like the article and start using these oils into your skin care regimen.


Best Bridal Makeup Services in Lucknow

Best Beauty Salon in Lucknow


Source

Nine steps: How to get the perfect cocktail party makeup


Getting this cocktail party makeup is easier than you think.


Go for shades of bronze or gold for a cocktail party.

With the wedding season on in full swing, the dilemma that most women face is how to glam up well. Getting the perfect makeup to accentuate one’s features and outfit is of utmost importance and while many go into a hyper frenzy, others simply hit the parlor.

Just in case, you want to save yourself all the trouble, follow our cocktail party makeup ‘step-by-step’ guide. Super easy to achieve, not only is this look super sexy but also a great way to save yourself from the embarrassment of ending up with a caked-up face and clumpy eyes!

Here’s how to go about it:


1) Apply concealer under your eyes and blend it well with your fingertips to hide dark circles/eye bags.

2) Use a bronze eyeshadow and blend it across your eyelid in an upward and outward motion, into the crease of your eyelid.

3) Trace the crease of your eyelid with a black eyeshadow and then top off the area above the crease with a pink matte eye shade.

4) Now, apply light gold eye shade only to the inner corner of your eyes.

5) Once, you are done, line your upper lashline with a black eyeliner and then apply some mascara to your upper eyelashes to maximize the effect.

6) Trace your waterline with a nude colored eyeliner/pencil.

7) Apply a little foundation on your face for a dewy effect and then finish it off with some blush on your cheekbones.

8) Use a highlighter on your cheekbones and the T area of your face.

9) Complete the look with a nude lip color, preferably with a hint of pink in it.


Best Bridal Makeup Parlour in Lucknow.
Best Beauty Salon in Lucknow.


Source

How to Apply Makeup for a Fancy Party


Part 2 


1. Accentuating the Eyes


Apply an eyelid primer. Dip your finger into the primer and apply a thin layer on your upper eyelid, below the crease. This primer will help your eyeshadow last longer, just like the other primer you applied. Allow the primer to absorb into your skin and sit for a minute or so before you apply the rest of your makeup.


2.Choose your colors. 


There are so many different color combinations you can do for fancy makeup. If you are going to a more formal event you may want to stick to browns and grays. If you are going to a fun event you may choose to use a shimmery eyeshadow. If you aren't sure what looks best on you, try out some different shades before your party. It is really your personal preference, but here are some guidelines for eyeshadow colors:[5]

For brown eyes: 
Because brown is a neutral color, you have a lot of options for your eyeshadow. You can go with coppers, purples, and blues. Really, brown eyes can get away with most colors, but usually darker shades look better.

For hazel eyes: 
Pastels and metallics look best for this eye color because they help make light brown eyes sparkle. Heavy shadows can hide the subtle green and gold in your eyes.

For blue eyes: Soft tones like coral and champagne often look best on blue eyes. Very dark, smoky looks can distract from your eye color, so sticking to the lighter shades will draw attention to your eyes without distracting from your eye color.

For green eyes: Because your eyes have so much color, you don't have to use many colors for your eyeshadow to make your eyes pop. Choose eyeshadows in shimmery browns or even a muted purple.
Using a color wheel to find your eye color's opposite is a great way to make sure your eyes stand out. For example, orange is blue's opposite, so eye shadows with orange tones will help blue eyes pop, etc.


3.Apply eyeshadow. 


Start by applying a light, neutral shade of eyeshadow to your upper eyelid, below the crease, and then blend it into the crease with an eyebrow brush. Then, apply a light, shimmery eyeshadow like cream or white to the inner corners of your eyes for an extra highlight. Then, blend a darker shade into the crease of your eye -- you want the color to be one or two shades darker than your eyelid color. Finally, add a dark color right above your crease and blend it into your crease with an eyeshadow brush.

For blue eyes, you might consider using a light champagne color for your eyelid, a peach, coral color for your crease, and a light brown, gold, or darker peach above your crease.[6]

For brown eyes, you have a lot of flexibility. Basically, choose a light color for your eyelids and go darker as you move your way up. Try to stay in the same shades, though (don't use a purple on your crease and a brown above your crease).

For hazel eyes, you can do a light smoky eye, by using a light, shimmery gray above the crease of your eye, or you can do a purple eye. Use a light color on your eyelid, move to a pale or pastel purple on your crease, and then apply a rich purple above your crease (don't go as dark as plum though).
For green eyes, go for a shimmery brown look. Choose a light champagne for your eyelid, fill in your crease with a golden or beige eyeshadow, and then use a shimmery bronze above your crease.
Make sure that your eyeshadow doesn't meet your eyebrow. You want your eyeshadow to end a little bit above the crease of your eye and not any higher.

To achieve a smokey eye look for events especially fancy, start with the lightest tone of eyeshadow in your inner eye (usually shiny whites, peaches, or very light browns), then move across the eye (towards the ears) with every shade getting progressively darker. For example, on a blue eye, you could start with a light white on the inner corners of your eyes, then cover most of your lid with a peach color shadow, and finally adding a darker peach/gold/bronze (or whichever darker color matches the shadows you've used) on the outer corners of your eyes, blending into the outer portion of your crease and around the edges of the outer eye.


4.Highlight your eyes with an eyeliner. 


You can use a liquid or pencil eyeliner on your eyelids. Draw a thin line of eyeliner on your top eyelid above your lash line, starting from the corner of your eye and moving to the end of your eyelid. For a more dramatic line, you can create a wing or cat eye with your eyeliner, drawing the line out past your eyelid half an inch or so.

When doing top eyeliner, it can be helpful to place a piece of tape next to your eye, so that your eyeliner has a nice boundary. Take a piece of scotch tape one inch long, and line it up with the outer edge of your lower eyelid. Place it at an angle so that extends away from your upper eyelid towards the end of your eyebrow.[7]

The color you choose for your eyeliner is up to you. Black is good for a fancy party, but if you have naturally light lashes, a light or dark brown may be better suited for you. You can also choose a fun color like a shimmery bronze or blue if you want to add some glitter to your eyes.

You can use eyeliner on your lower lash line as well, but this often makes people's eyes look smaller. Using eyeliner above your lash line and then accentuating your lower lash with eye shadow will make your eyes look bigger.

A thin slanted eyeshadow/eyebrow brush can be used to help smooth out any eyeliner bumps and perfect that fierce wing. Simply place a small bit of eyeliner onto the tip of the brush and carefully touch up any issues.


5.Apply eyeshadow under your eye.


 This is in place of your under eye eyeliner, or in addition to it. Use a medium shadow (not a white but not a dark gray.. something like a beige or brown) and apply a thin line of eyeshadow from the outer corner of your eye to the middle of your eye with a thin eyeshadow brush. Then, smudge and blend it in with your finger or with an eyeshadow brush.[8]

It is really your personal preference what you want to do under your eyes. Start by applying your upper eye makeup, and if you feel like you need something more than add under eye eyeliner or eyeshadow. If you like the way you look without something under your eye, then leave it at that. You could also choose a fun color for under your eye like a light blue or purple.


6.Apply mascara. 


For the final touches to your eye, choose a mascara suited for your hair color. Dip your mascara brush in your bottle (making sure you don't pump it as this can dry out the mascara) and start at the base of your top lashes, underneath them. Then, wiggle your mascara brush through your lashes. After you have applied one coat, apply one or two more coats until you have your desired color.[9]

Repeat this step on your lower lashes, but apply the mascara to the top of the lashes instead of underneath them.

If you have dark hair, use a black mascara. If you have light hair, try a dark brown or brown mascara. It will still look mostly black on your eyelashes, but won't make your lashes look spidery.
Before you apply your mascara you can use an eyelash curler to add definition to your eyelashes.


How to do facial at home?


Facial at Home


Our skin needs an extra care and protection from the changing weather. Having a glowing and fair skin is a dream of everyone. So, getting a facial treatment is the best care of skin. Everyone can do the facial at home. You got the different facial treatment at parlor but you do not satisfy with their service. You didn't get a satisfactory result. And every expert will charge you per cream. You can rid all of these problems by purchasing your choice facial and do it at home. Now all products are available in the market according to your skin type. However, You can go market and purchase all the products that you needed and that are suitable for your skin type. In the market, some super store is famous for its quality. I didn't have good experience of a facial message from a beauty parlor so I do it at home. I have gathered all necessary information related to skin whitening facial and products in this post that you will find useful.


Best Whitening Facial Products

I found the following best whitening facial products that meet with all skin types.


  • Blesso Whitening Facial Products
  • HB-11 Whitening Facial Products
  • Hollywood Style Facial Whitening Products
  • SkinVita Whitening Products


All the above brands have a complete range of skin whitening facial products. After selection of products, the next step is how we can do facial at home and what other things we need for it. At the end of the post, there is a picture showing you steps for messaging.

Things you Need for Skin Whitening Facial


  • Head band
  • A small towel
  • A bowl of water
  • Sponge
  • Black head remover applicator
  • Steamer (optional)
  • Cotton
  • Cleansing milk
  • Beauty cream
  • Scrub
  • Mask
  • Toner or astringent


Step for facial massage


Move your fingers gently as shown in picture for massage. Do massage for 5-8 minutes in each step for good result.


Procedure


The head band around your hair like in the picture.


Step 1- Face Cleansing


Firstly you need to clean up your face from dirt and oil. For this purpose apply cleansing milk on your face and neck; massage properly from neck to upwards nearly 5 minutes then clean with a sponge. Cleansing milk picture showing for your reference.

Step 2- Face Messaging


After cleansing your face properly next step is messaging. A good massage with a suitable massage cream increases the blood circulation in your facial area which reduces wrinkles and pigmentation, making the skin look young and also soften the skin. Apply cream on face and neck and massage it. If you have dry skin then I will recommend you to select intensive moisturizing cream, for oily skin use whitening herbal massage cream and if your skin is sensitive then apply whitening facial massage cream. Massage cream about 5 minutes.

Step 3- Face Scrubbing


After face massage, you use the scrub. You use apricot scrub for normal skin. If you have acne then use St. Ives NaturallyClear scrub is best for you. Dot scrub all over your face and neck. When the skin gets dry during scrub, wet your hands again and scrub.


Step 4- Black Heads Removing


Now if you have black heads on your face then get steam without removing scrub then use black heads remover applicator for removing black heads from the skin. I will not recommend you steam in summer season because it can harm your skin in the hot season. For removing black heads from nose you can also use deep cleansing nose strips.

Step 5- Mask


Mud masks are considered the best but some mud mask causes irritation on sensitive skin so in such situation I recommend you to use peel off mask. Hollywood Style whitening mud mask is best for all skin types. I will suggest you use Lemon peel off mask for oily skin and bless whitening peel-off mask is excellent for sensitive skin. Leave mask on your skin until gets dry then wash off with normal water. Does not use a sponge for removing mud mask instead gently rub your skin during rinse off.

Step 6- Toner


At the end apply skin toner or astringent on the face. Hollywood style softening glycerin toner and L’oreal Paris white perfect whitening and moisturizing toner is good. For dry skin, I will suggest you Hollywood style extreme dry skin toner.


Best Beauty Salon in Lucknow.
Bridal Beauty Parlour in Lucknow.


Source

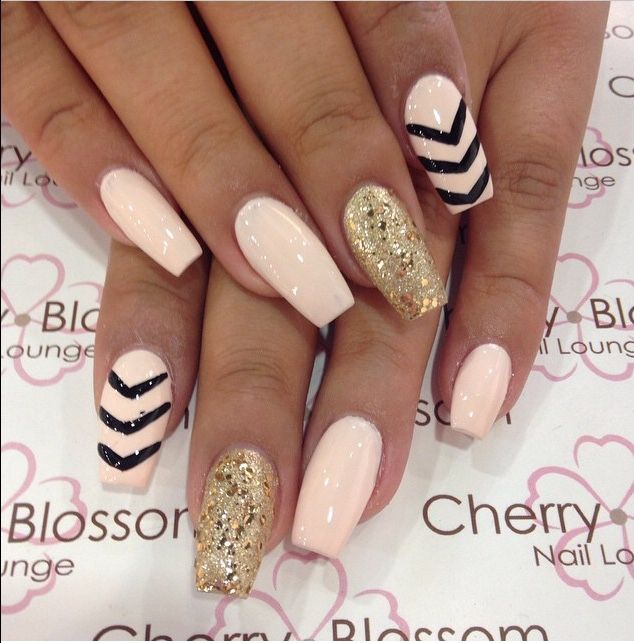
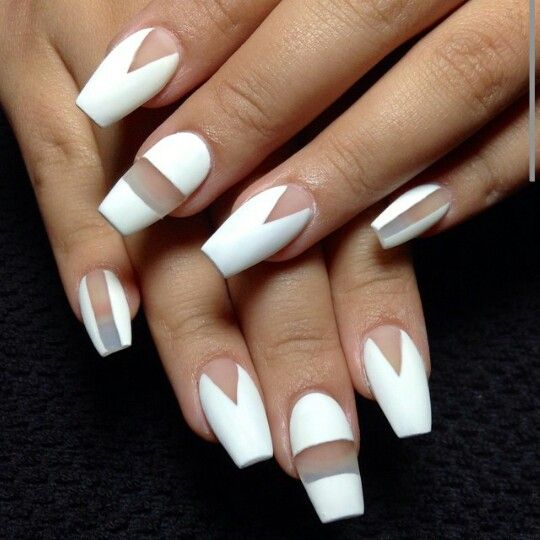
HOW TO PICK BEST NAIL SHAPE FOR FINGERS- 9 DIFFERENT NAIL SHAPES GUIDE


Girls can be quite picky about their outlooks, from a single detail of their wardrobe to the finest touch of their makeover, they put all in whatever it takes to make them look gorgeous. In this regard, even the nail art, nail’s cutting style and nail size demand much of our attention. You might have gone over hundreds of blogs or articles about colorful nail art but deciding for the best nail shape still yet confuses you. So if you still wonder which nail shape can suit you the best, then you logged on to a right place.
How to Pick Best Nail Shape for Fingers- 9 Amazing Nail Shapes Guide

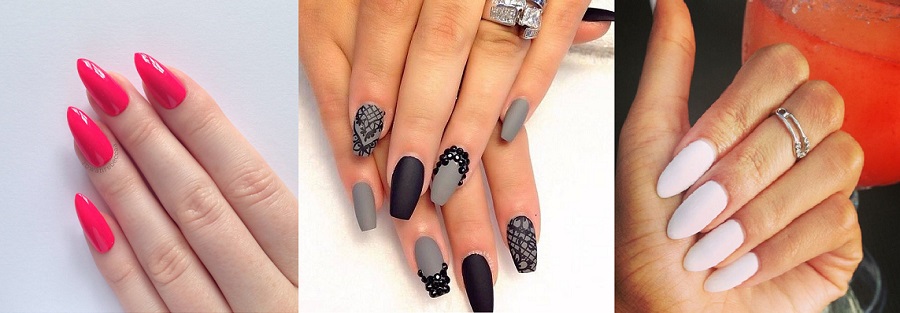
Here we have a complete list of various nail shapes for you. These shapes can be opted according to your personal style or your wardrobe. Each shape is distinct in its way and too easy to grab on. Have a look yourself, and you will not agree on any lesser. Here we sharing the 9 different nails cutting styles and how to pick best nail shape for yourself.

1. Round


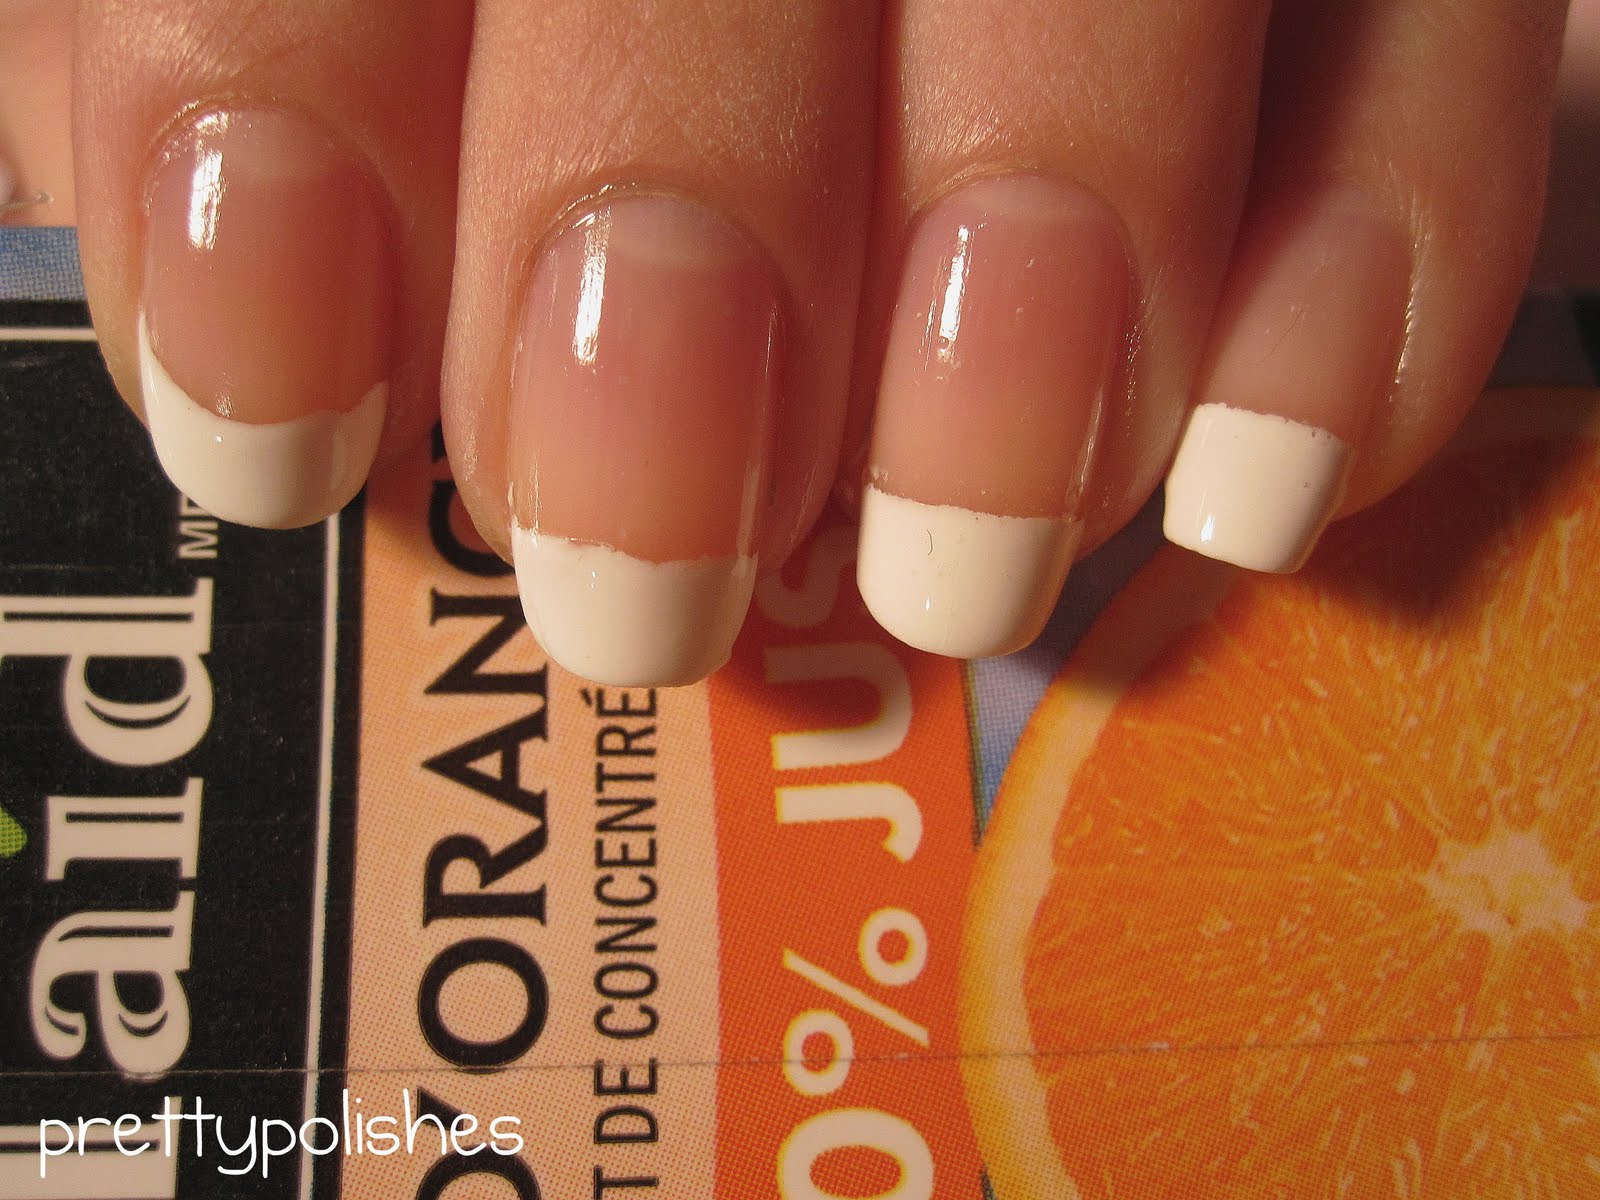
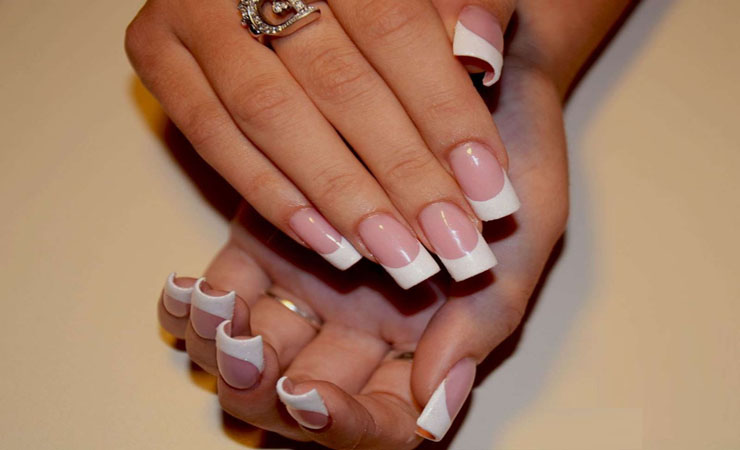
Round is close to your natural nail form. Therefore, it is preferable and adored for its simplicity. For who love to keep them short and close to the nail bed, this form can prove to be perfect for them. All you need to do is some filling around the edges and a nice finish to get yourself lovely round nails. So whether you keep them simple or adorn them with pretty nail art, they will look equally good in all.


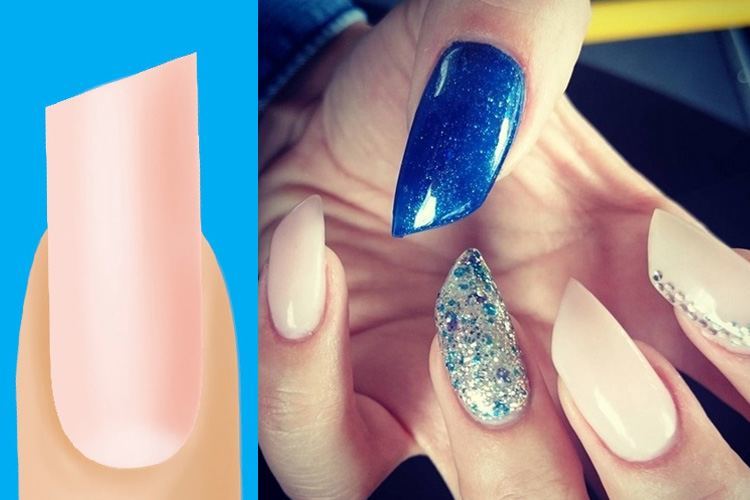
2. Square


If you want to get something sharp and bold, then the square is the best nail shape for you. Instead of filing around the edges you need to file the tips to a flat finish. Whether you have short or long nails, this shape can be easily achieved for both. This shape is highly low maintenance and does not require much of your efforts to put in. all you need is a little care and attention while filling well.


3. Rounded Square


If you are not much of a fan of sharp-edged nails yet love them to be little squarish, then rounded square nail shape can be good for you. First, you need to file them flat over the tips then file the sharp edges of the square tips. Do not go overboard with this, just a smidge of filing will be enough to have the treat for your nails.


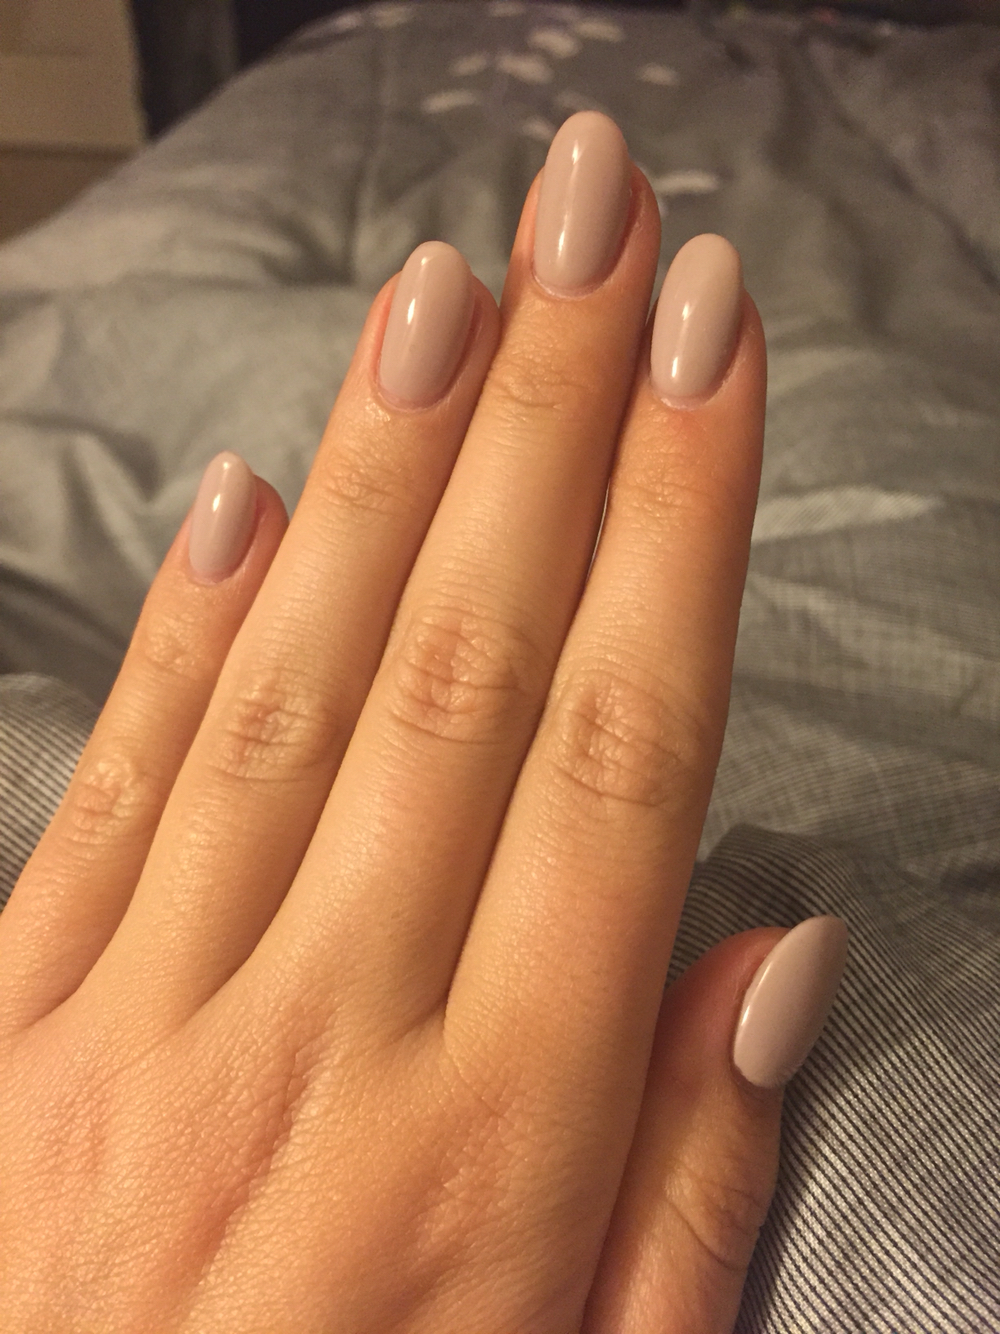
4. Oval


If you want your fingers to look longer than they originally are, then you should definitely try this oval nail shape. The perks of carrying this shape include an added femininity to your hands and a slimmer touch to your fingers. It easy to attain yet looks magnificent in every nail color. Better go for monochromatic mattes for this shape as they look prettier in that.


5. Squoval


It is for the ones with long nails, a perfect combo of square and oval. If you want your oval style a little less round around the tip, then try this squoval touch. It has the length of the oval style while the contouring of square shape. Whatever you do to get this pattern, try to be a bit careful to keep its distinctive outlook.


6. Ballerina


Here is another option to deal with your long nails in the decent way. It resembles a lot to the square shape, but it is more tapered around the edges making it bit narrow to the end. This form sparks elegance in your nails and demands low maintenance.


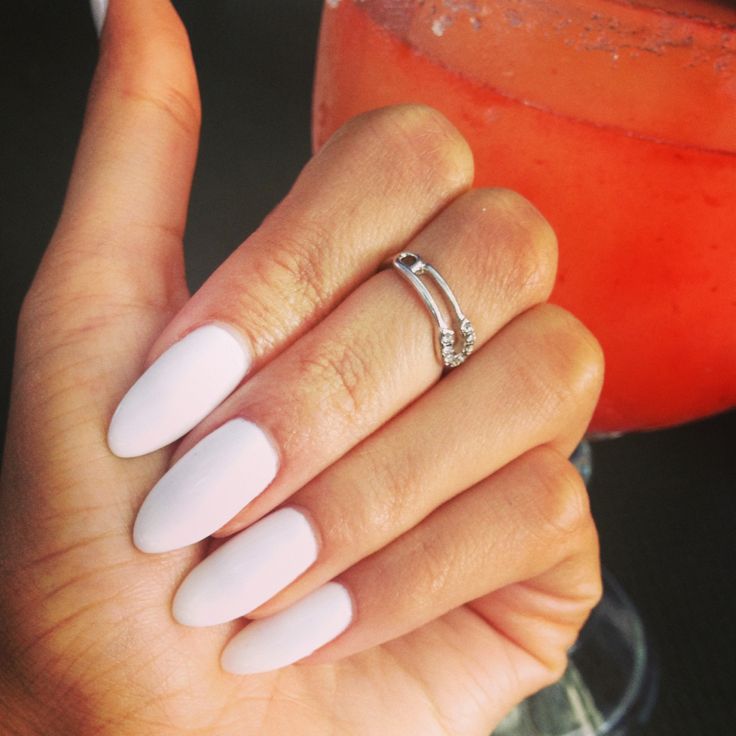
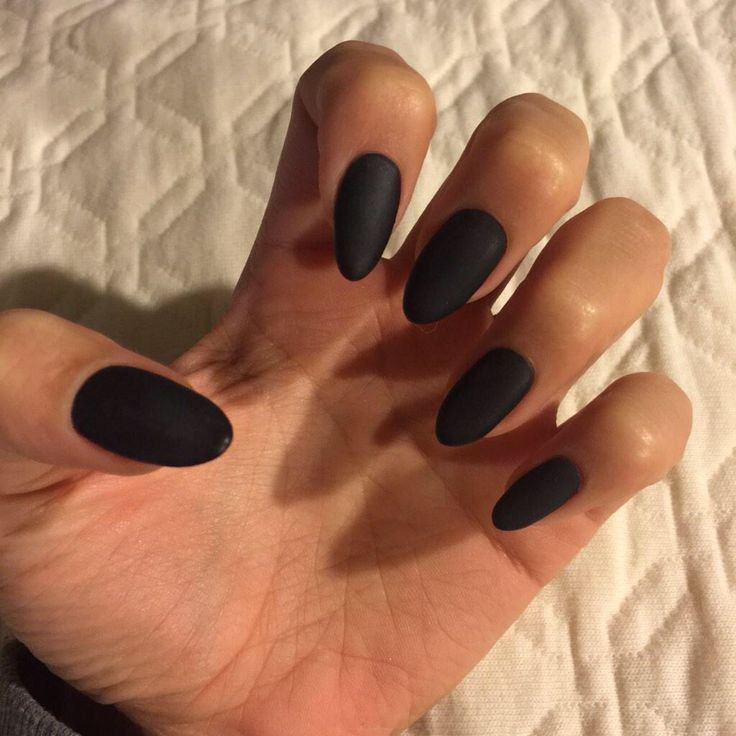
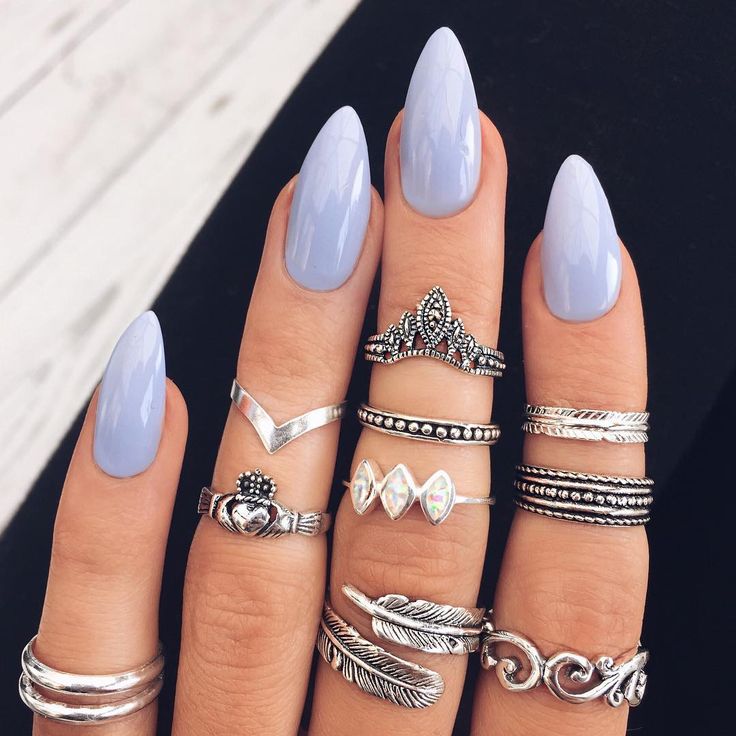
7. Almond


As the name indicates, this style resembles an almond shape. It is gain by filing the pointy tips of your nails. File in a slant around the corners, so that you’ll get an almond tip. Then smooth out the tips. Your nails will look more slender. The advantage of having this pattern is that your hands will look quite alluring and smart.


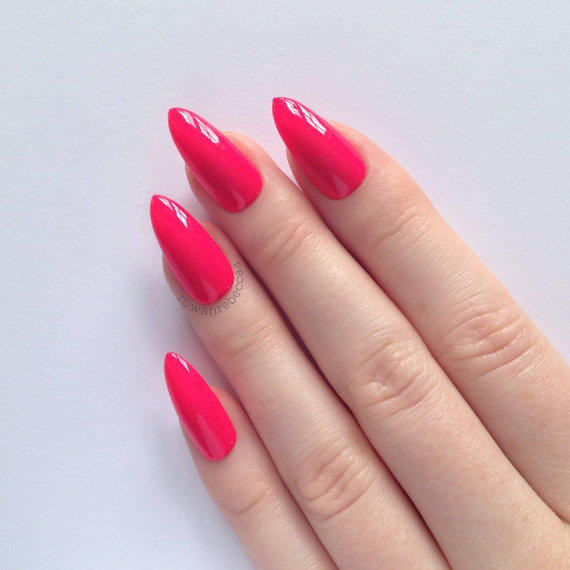
8. Stiletto


Stiletto nails can be a bit of trouble for you while doing routine activities, but no one can deny how beautiful they look with a shiny enamel on them. You can try these for a party like an event, highlight the charms of your dress with matching colors.


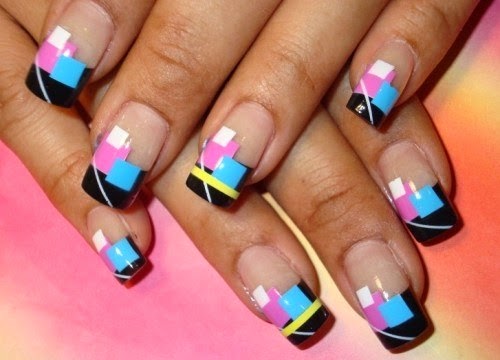
9. Lipstick


If you remain in the constant hunt for something new, then this is it. This form is completely out of the box and looks funky. It’s slant from the tips like the lipstick. The shape diagonals of each nail should be coherent with one and another.


Best Beauty Salon in Lucknow.

Best Bridal Beauty Parlour in Lucknow


 Source

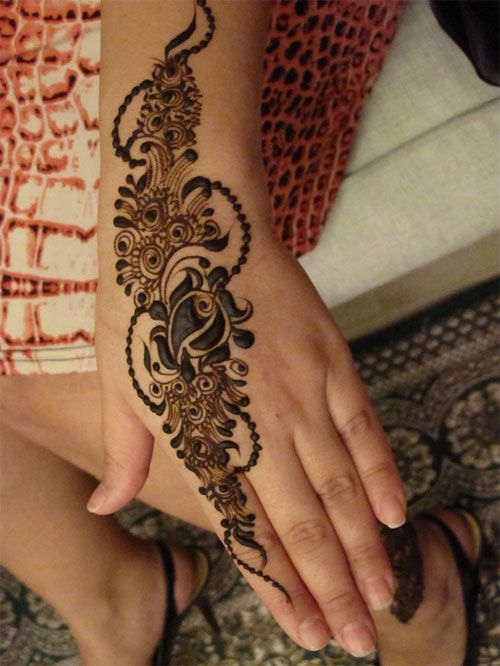
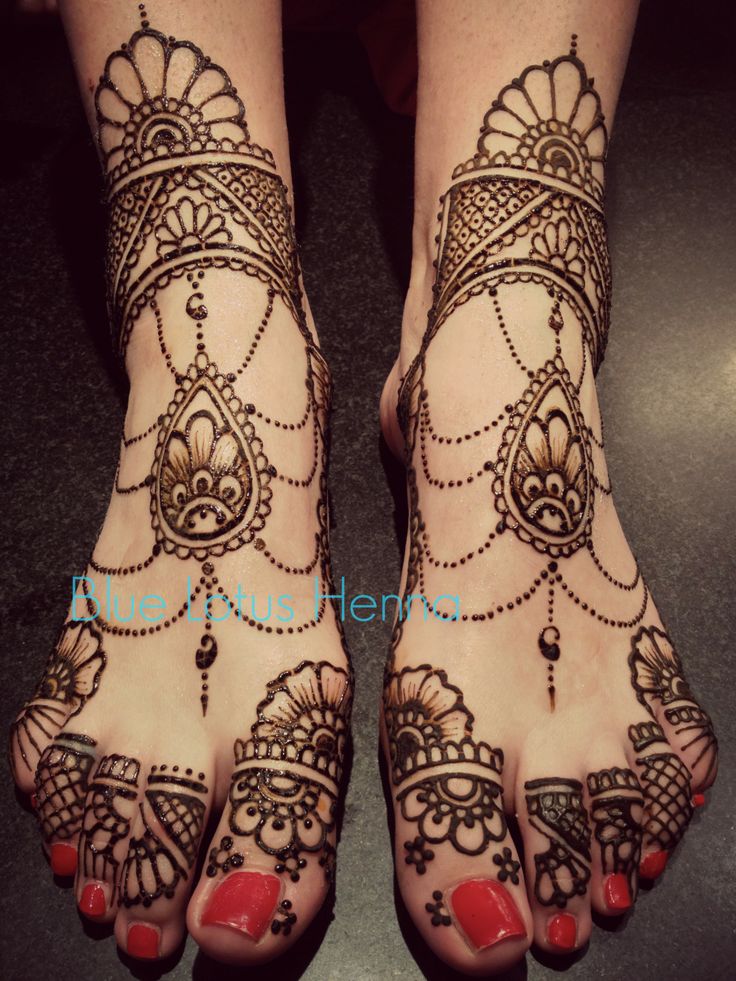
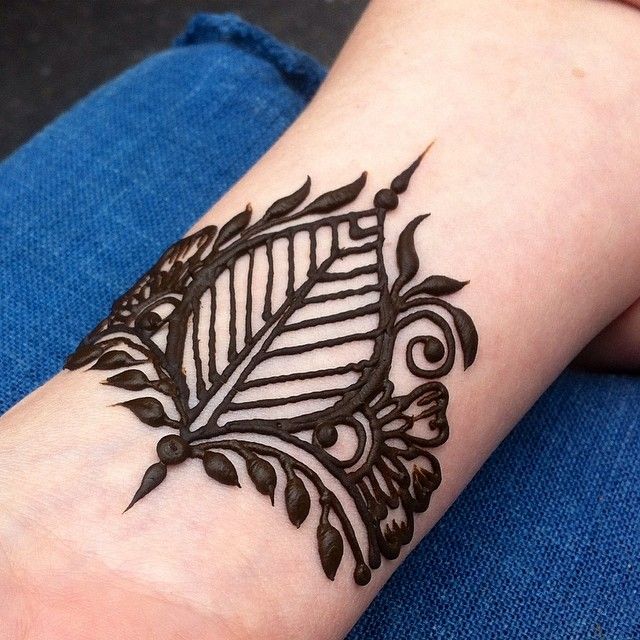
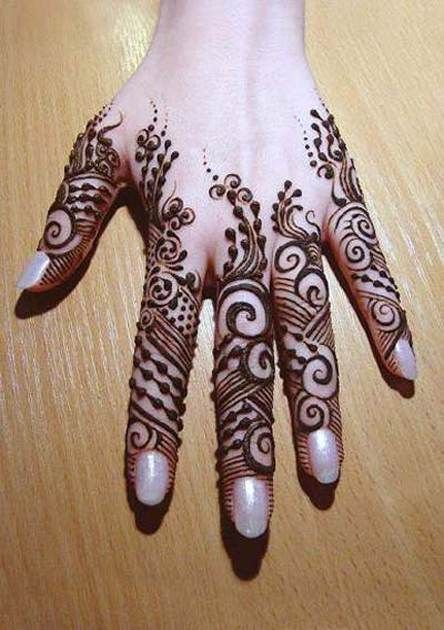
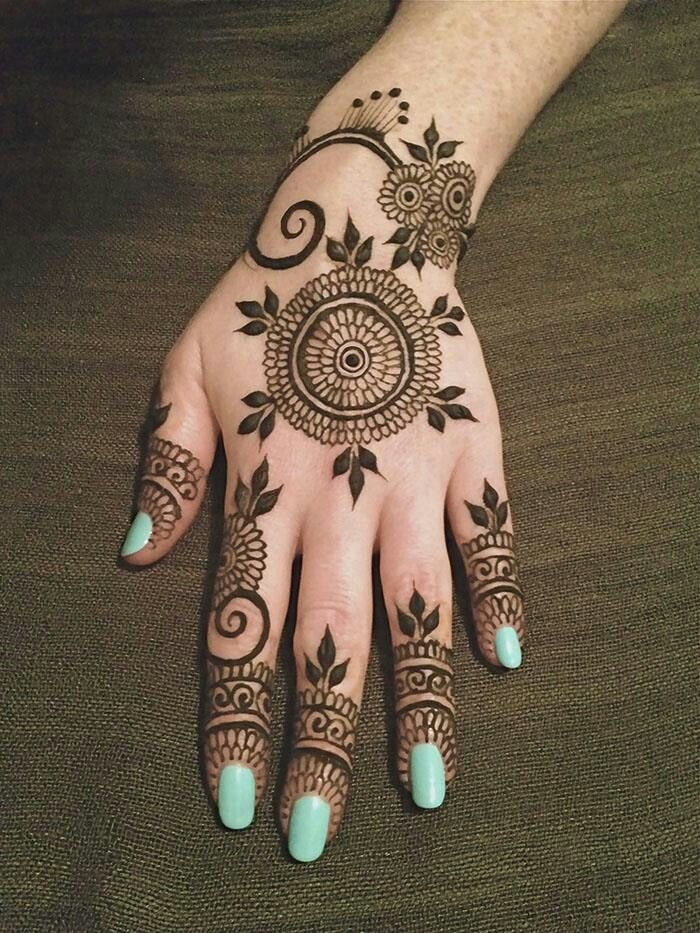
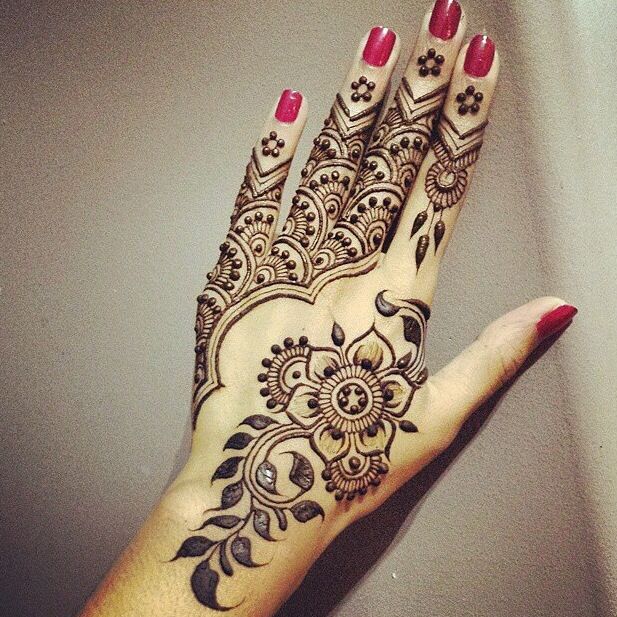
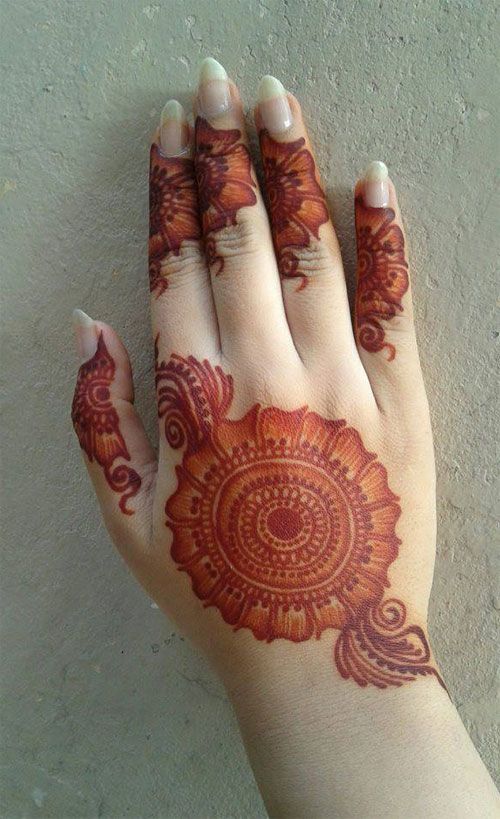
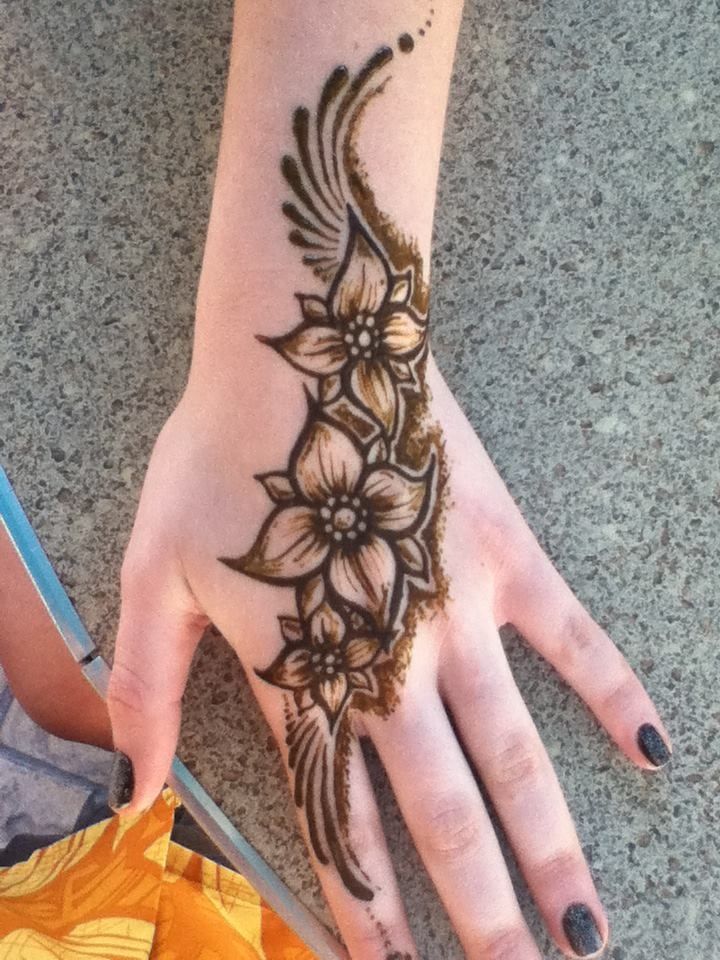
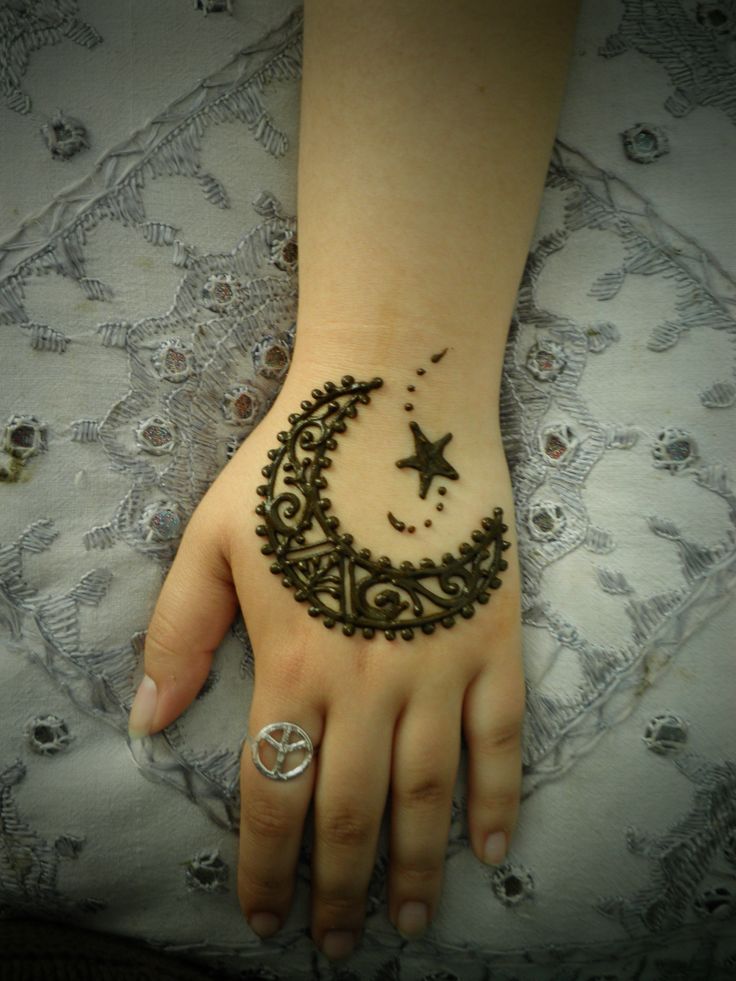
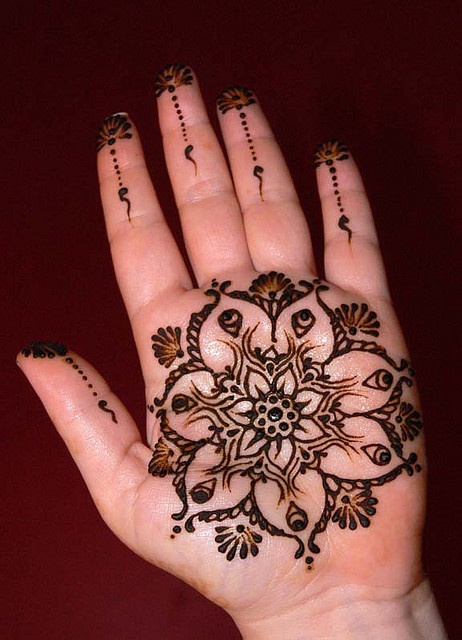
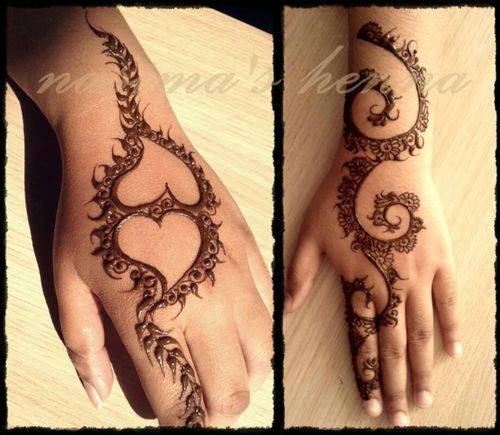
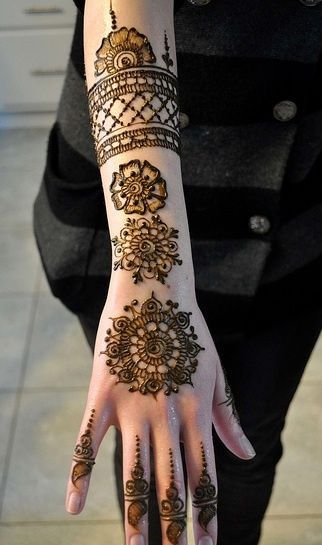
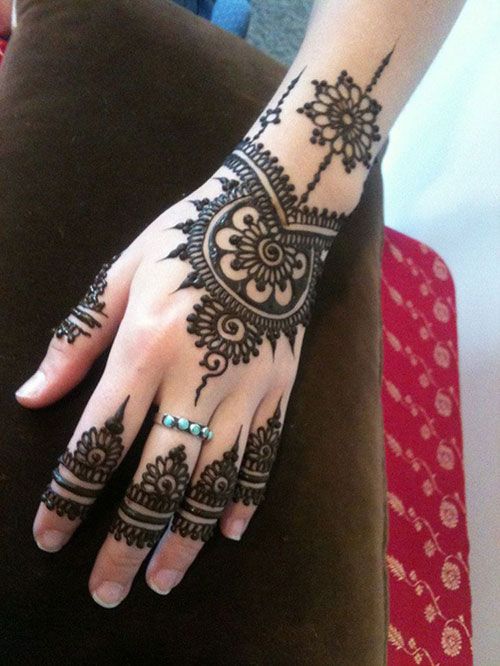
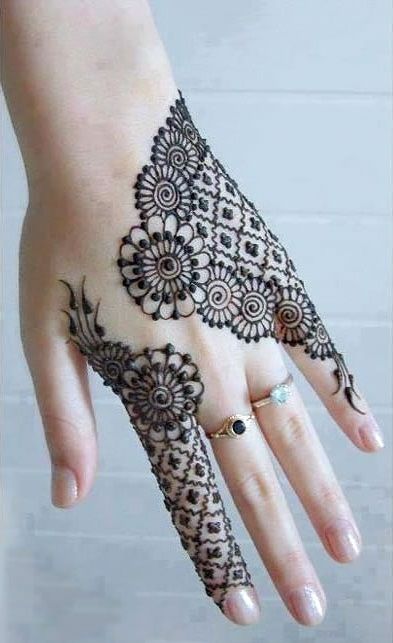
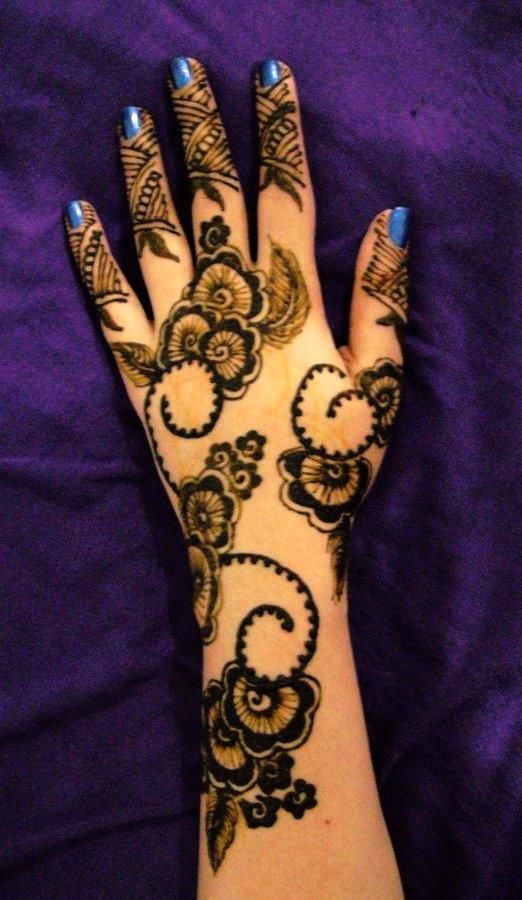
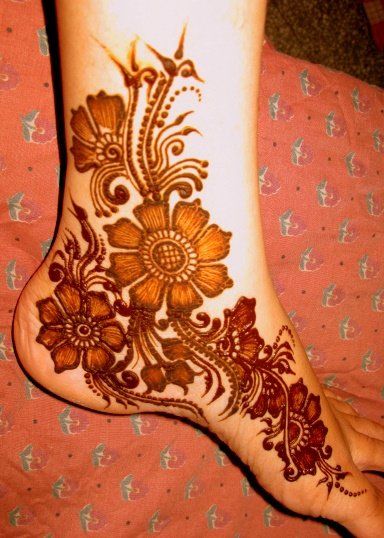
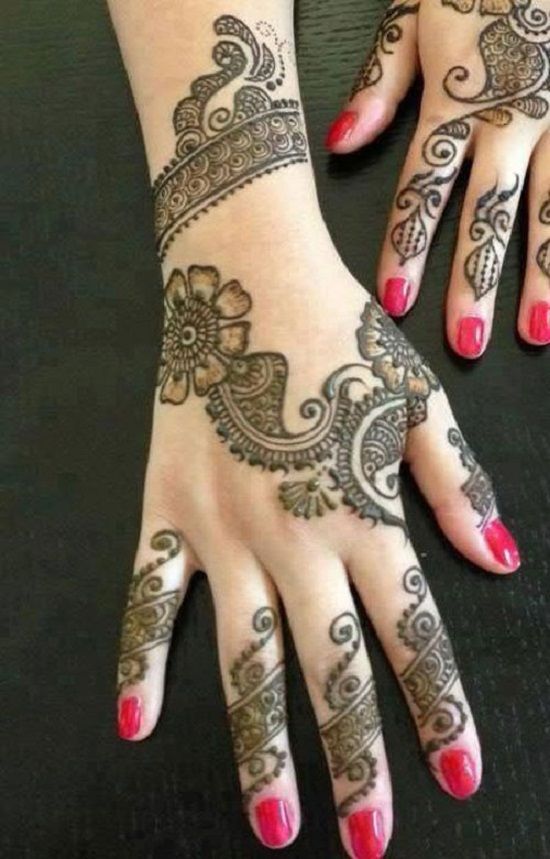
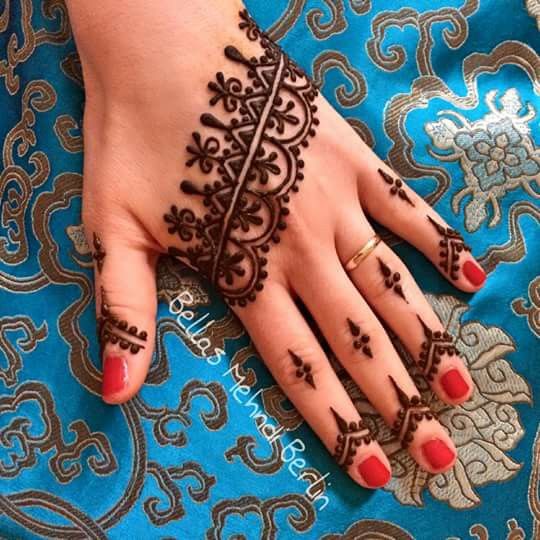
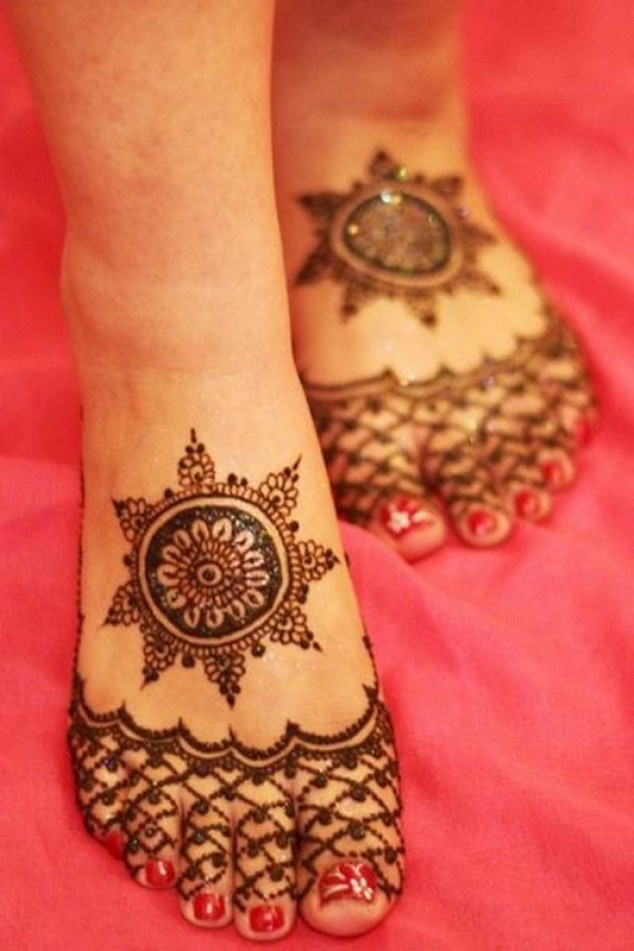
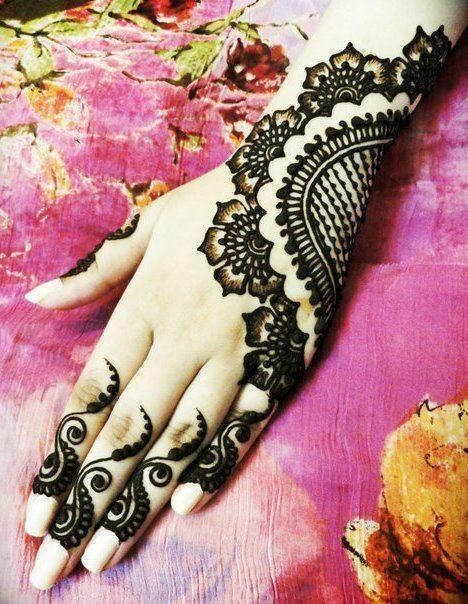
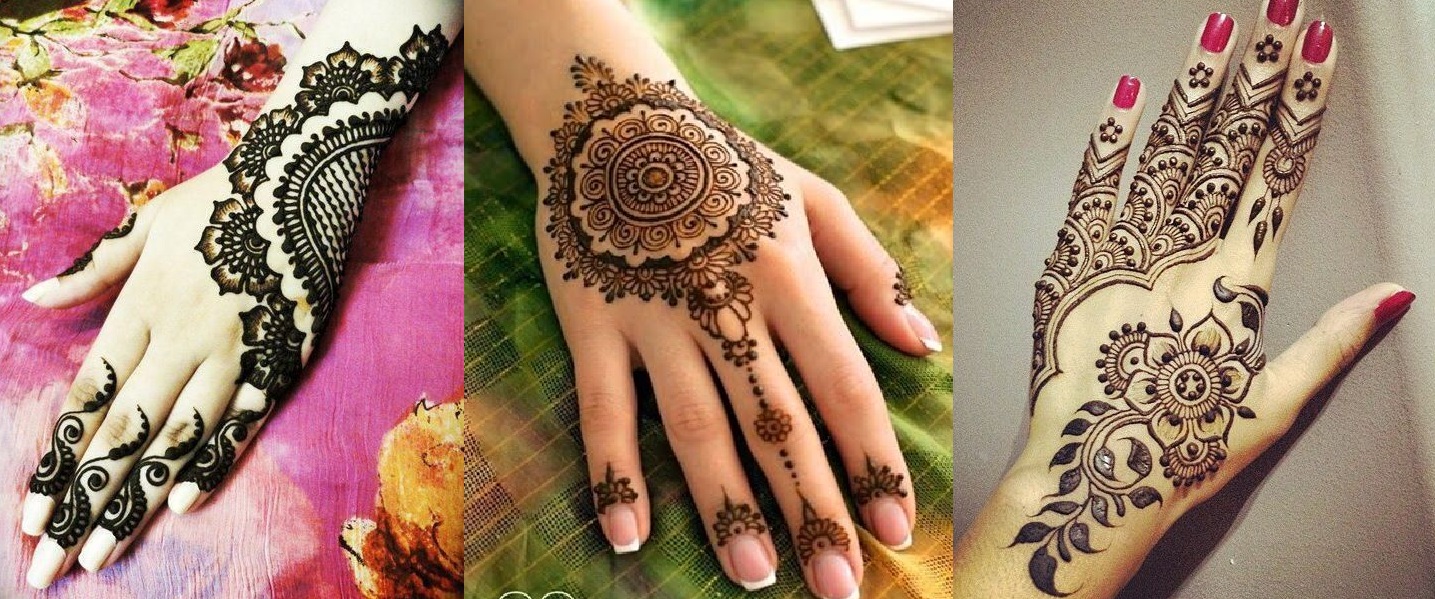
LATEST BEAUTIFUL EID MEHNDI DESIGNS COLLECTION 2017-2018


As the dates of English calendar pass, the Islamic calendar also shows a new date every day making us closer to the joyful Islamic events. Lightening, sweets, mehndi, Chand Raat, new dresses, etc. are all the delights of an Islamic event of Eid. Ramadan is just one month far and after that; in every street, in every house, all the Muslims would enjoy the holy Eid. Today we will post the latest eid mehndi designs for hands and feet.


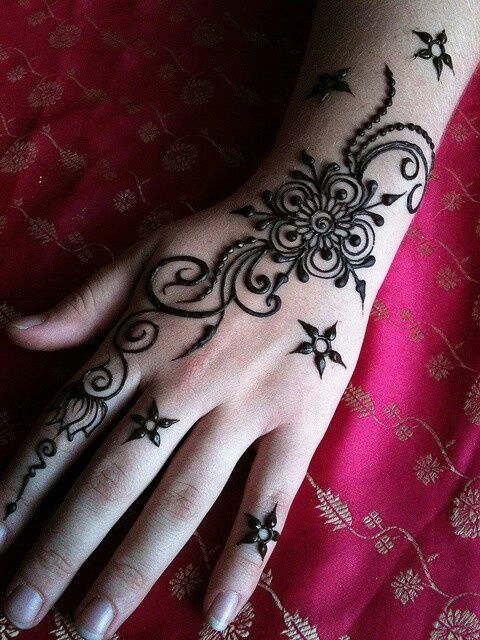
One of the top most elements in the early celebrations on Chand Raat is Mehndi, young girls, teens, and married women love to beautify their hands, arms, and feet with this fragrant cosmetic “Henna” with a variety of designs like, flowers, round Tikki, bail, bracelet style patterns and lot more. Many of the style variations are practiced; on such occasions at some places, sisters and cousins apply mehndi to each other’s hands while others like to go to the beauty parlor for dis purpose. The customs and situations do vary, but the thing that remains vital and same is MEHNDI tradition!


Latest Eid Mehndi Designs Collection for Hands & Feet 2017-2018


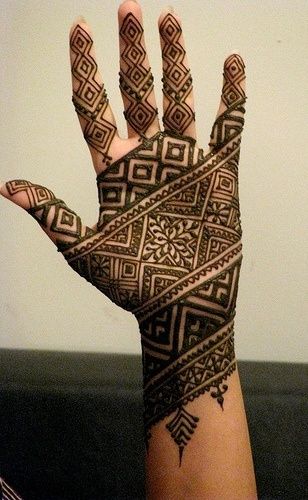
Eid Mehndi design is the hottest topic for Muslim women around the world these days because a lady would never leave even a minor detailing of her style. Many of the categories are there in the Mehendi designs like according to the region we see different Indian, Pakistani, Bengali and Arabian Mehendi; and according to the patterns and shapes we see round tikka, heavy filled hand style, chains, bracelet forming designs, flowers, geometric and dotted patterns, and many other beautiful styles. Usually, little girls and teenage girls prefer lightly filled chic patterns and married, or newly married women have their full hands filled with attractive henna.


From all this discussion, the subjective thing you can figure out very easily is the design, something that a woman needs to be different new and unique every time she applies mehndi and so is her right too. None of the advancement and innovation in the styles of it ever stops and so every time we discuss henna; we discover, gather and present to our audience all new amazing and chic designs of mehndi for a girl to try on Eid and on other occasions too.


Same is this post, bringing to you a huge array of dramatically adorable, nice and fresh patterns of various types we discussed earlier. So for this Eid, You can pick the style you want and either pickup your cone and start or go to your mehndi expert and show her the design you picked. below we have posted the latest collection of eid mehndi designs. Stay stylish with the latest subtle Henna trends